It’s the peak of summer here in the northern hemisphere and as my tomatoes struggle to live up to the perfection I’d imagined over winter, my flowers are filling vases, presses, dye vats, and now paint jars! About a month ago I signed myself up for Falling Off Tree’s Botanical Play Intuitive Painting with PH Modifiers class. I rarely take classes on anything, content (stubborn?) in my autodidact world where I’d rather teach myself with books or the internet, but I’m trying this new thing called trying new things.
The class was relaxed and fun, and I immediately went looking for supplies to experiment more. When you have ADHD you ideally learn to resist the siren song of buying every supply imaginable for your new hobby, so I opted for decent paper and cheap brushes. I’m already eyeing down watercolor sets and fancy brushes so my strength may only go so far.
For our purposes today, you’ll need water, paper, a paintbrush, and flowers.
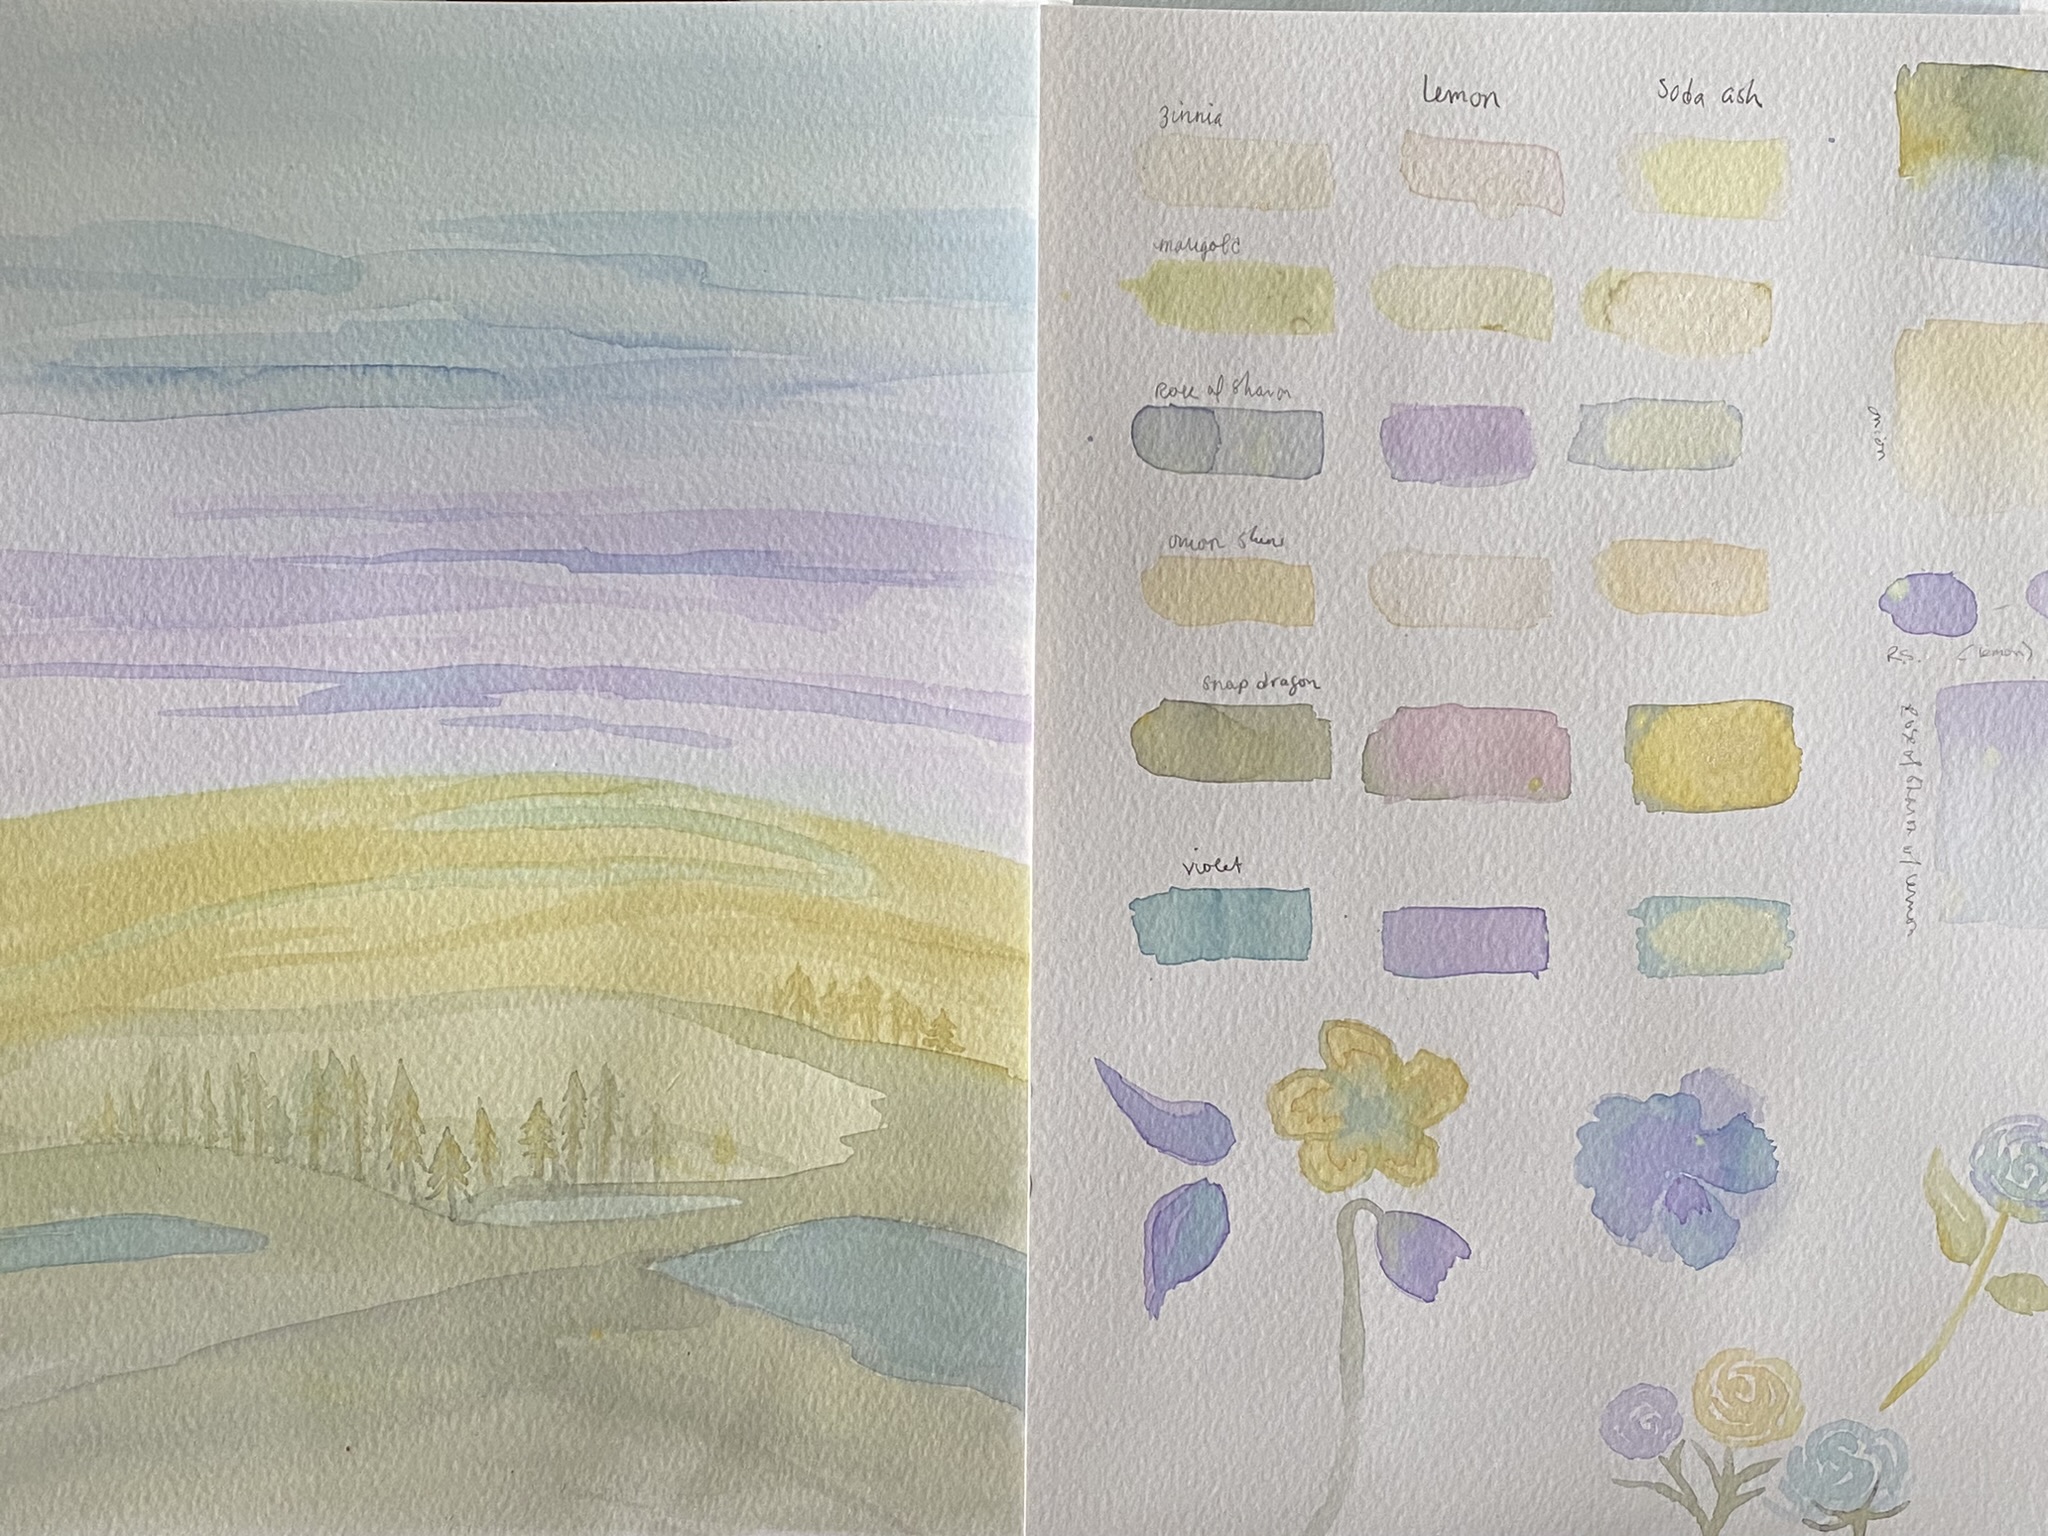
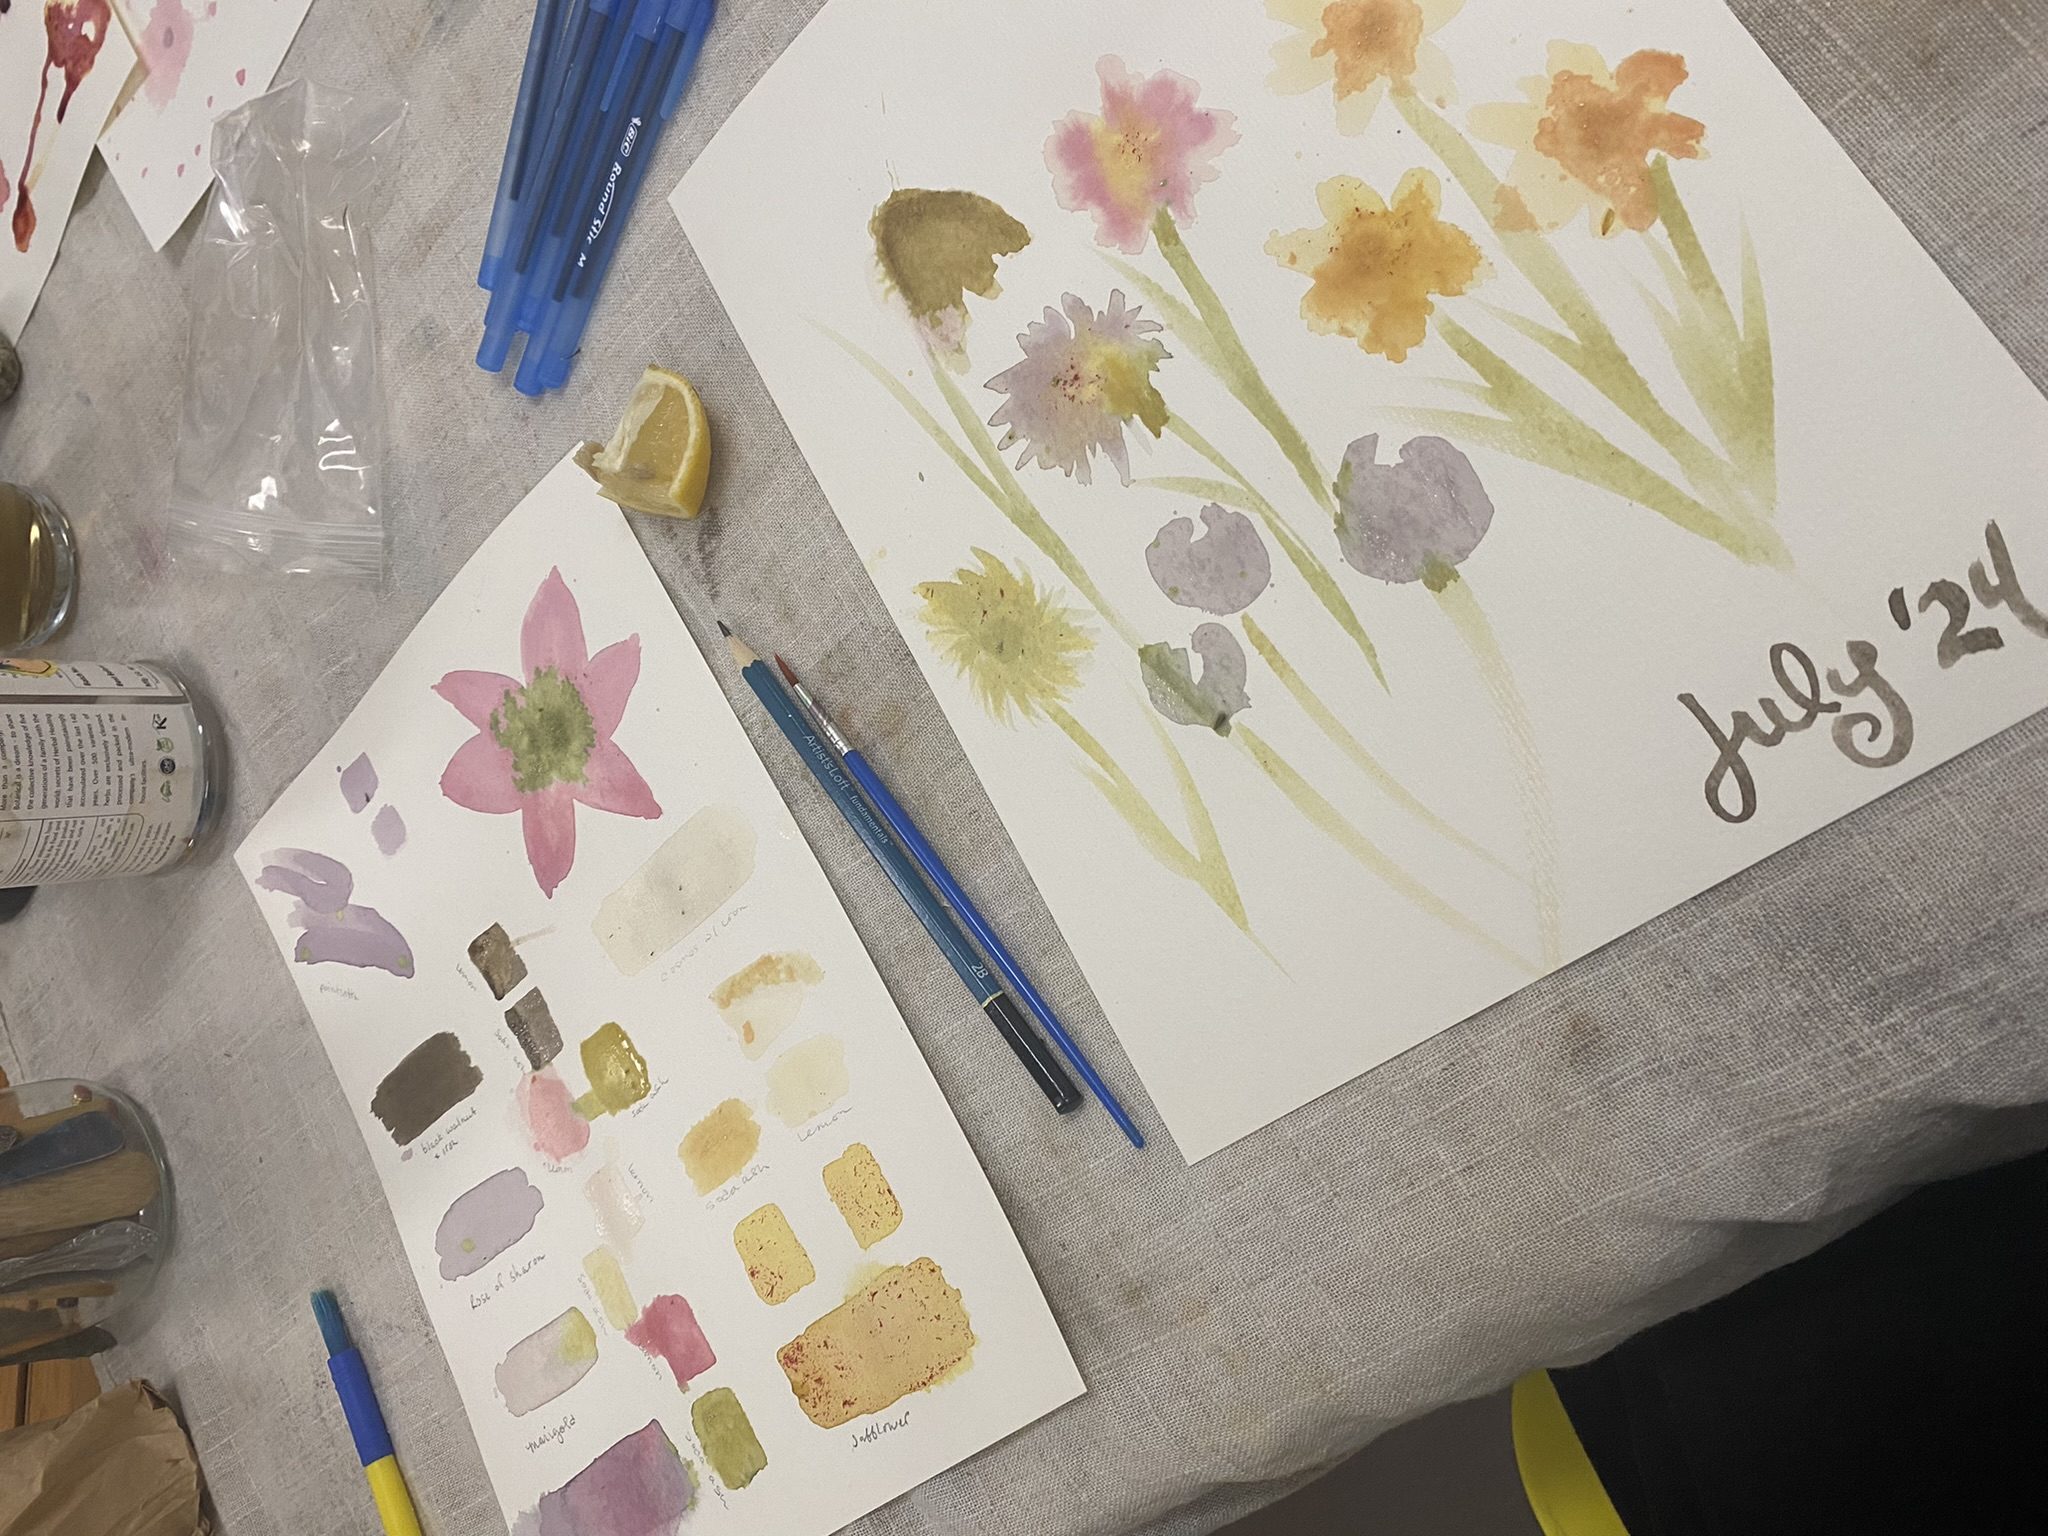
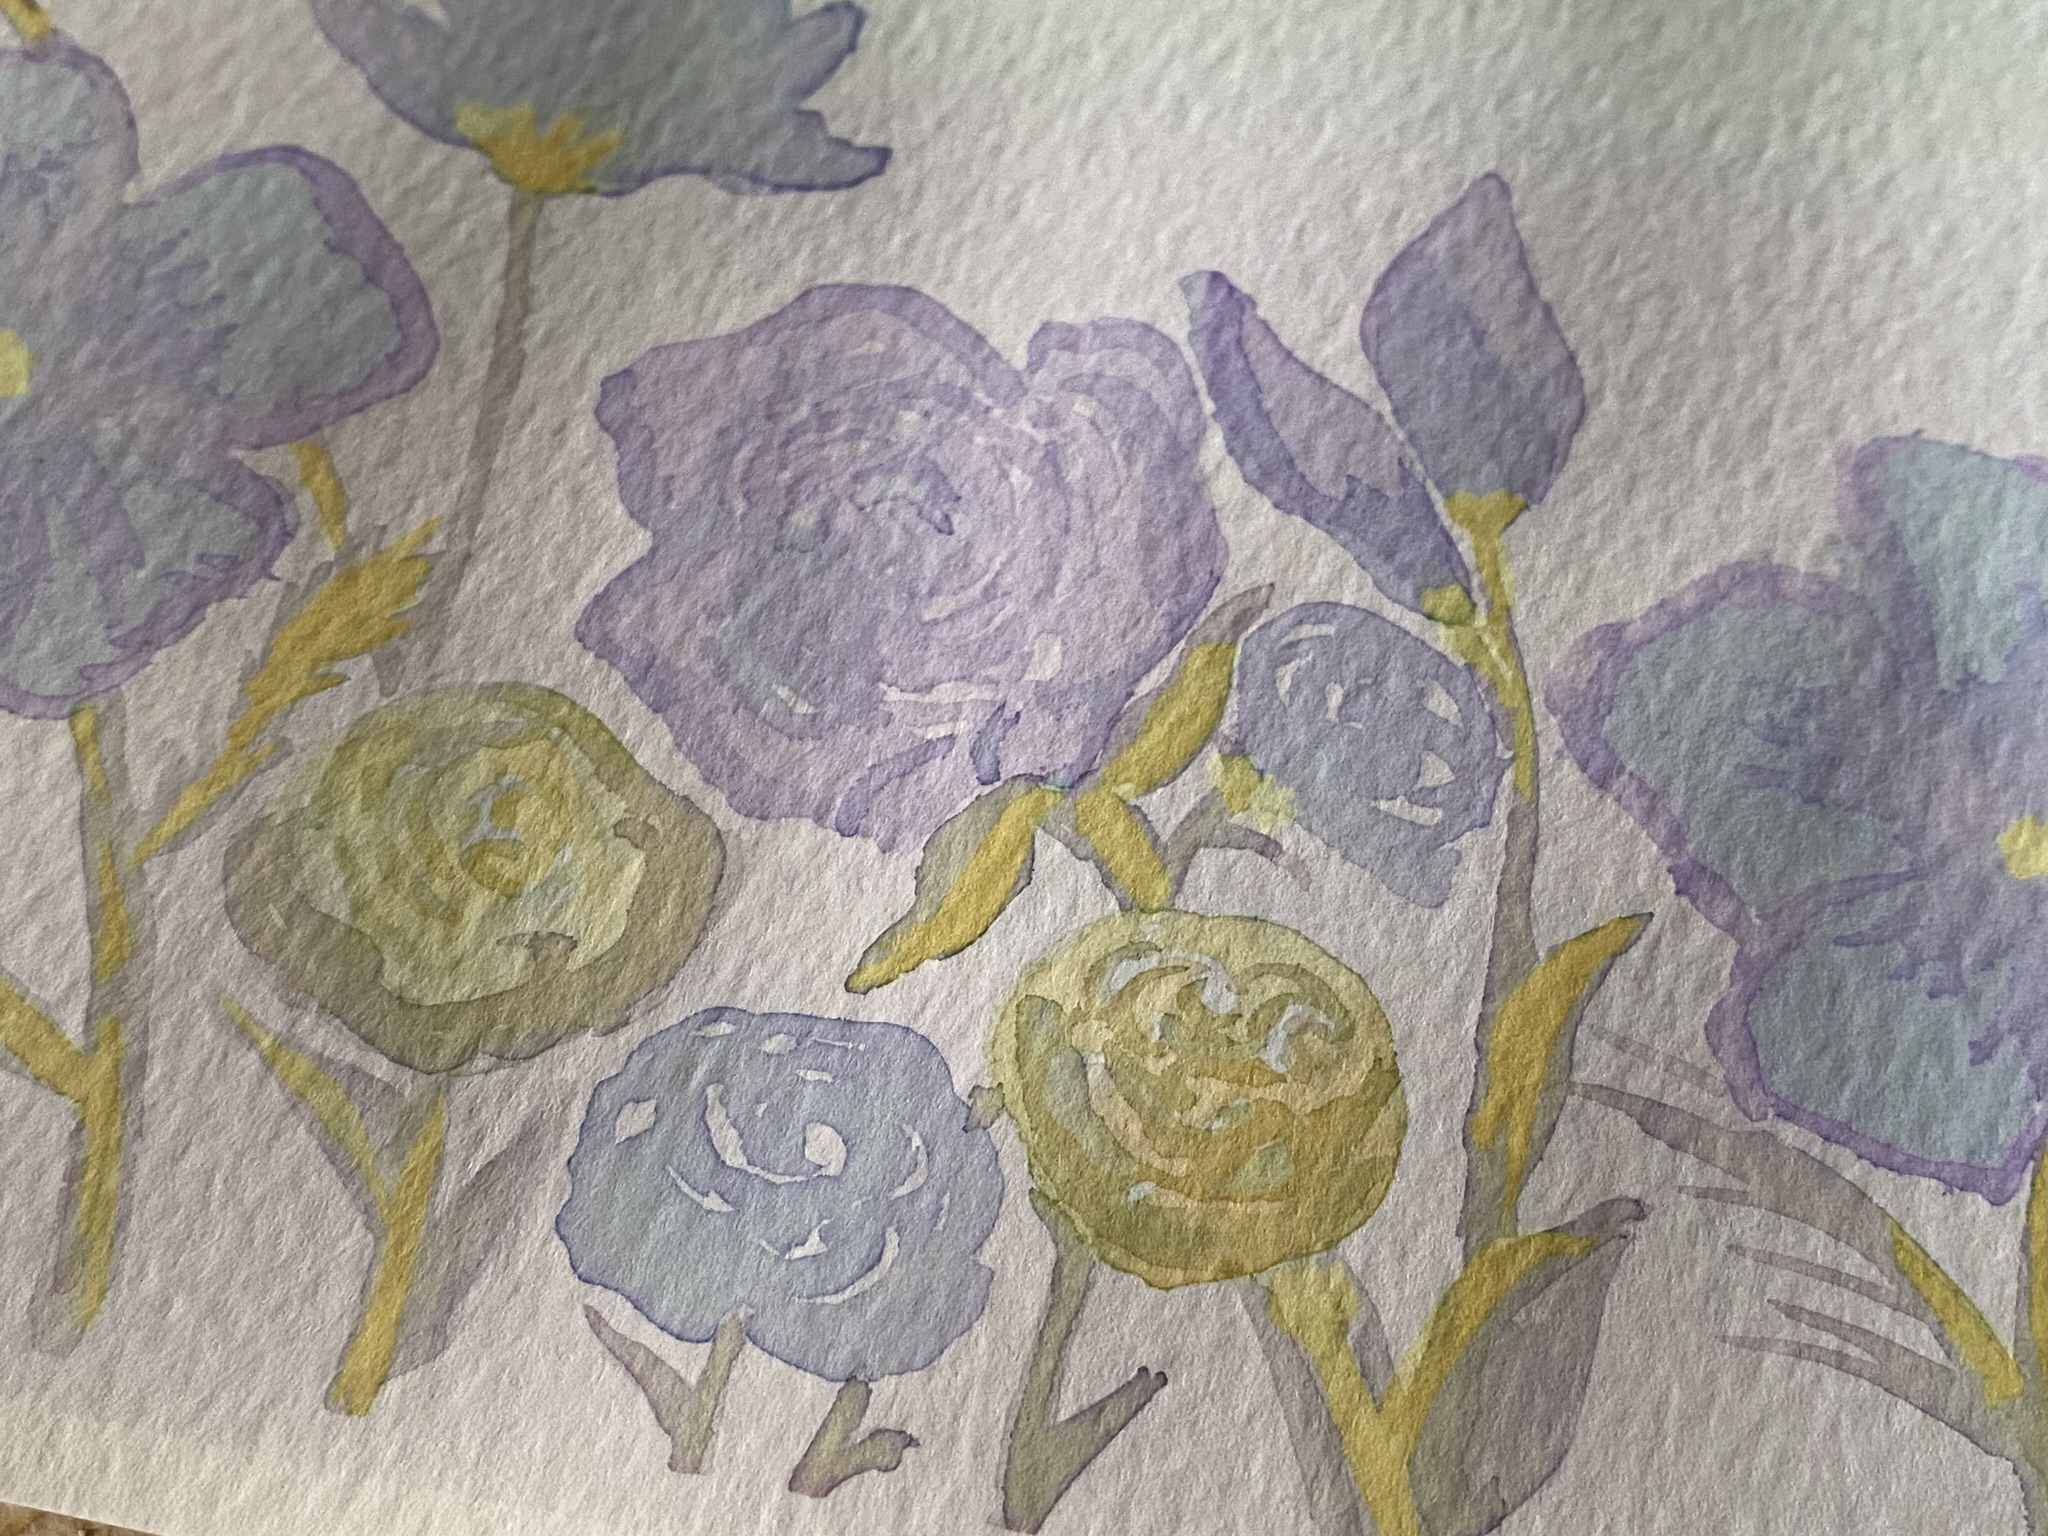
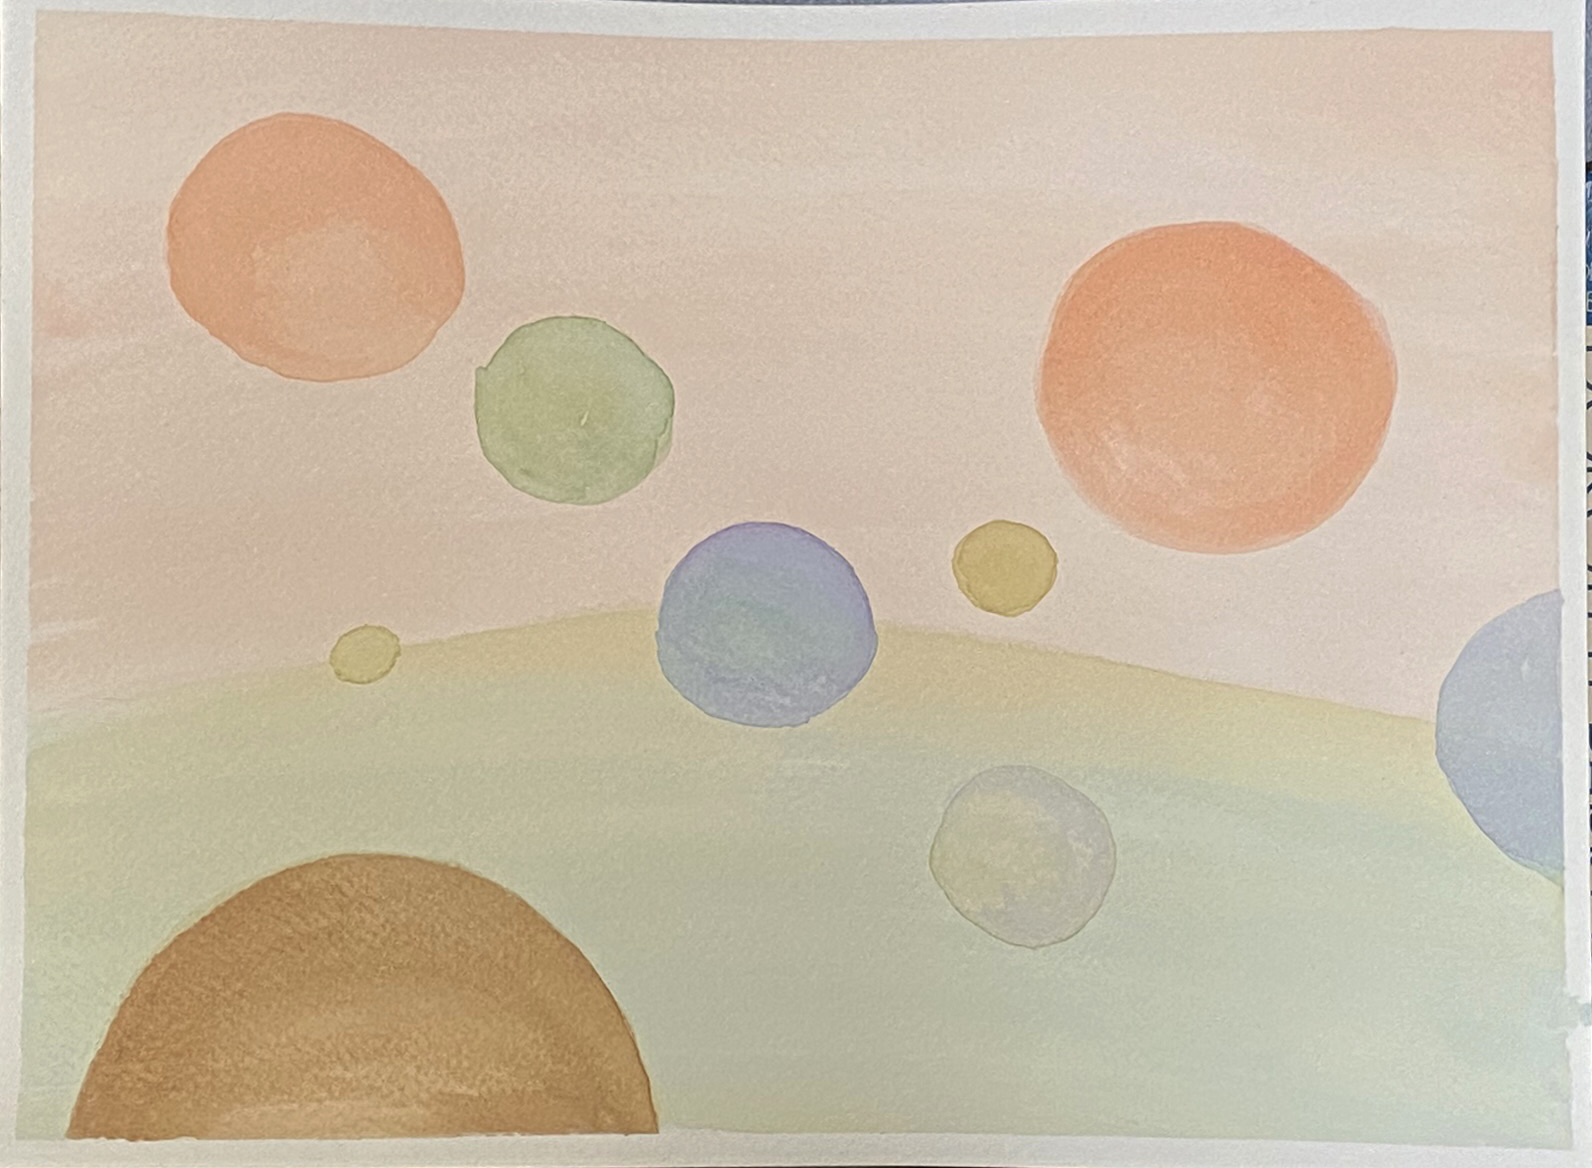
When setting out to learn painting of any kind, I think it’s always best to swatch and play with values and color before trying to do anything else, so that’s mostly what I have to show you. I am not an experienced painter and you don’t need to be either! This is about spending time with plants and working your creativity muscles.
Let’s jump into the process!
The process of extracting pigment from plant matter often starts with hot water. You’ll want to tear up or chop your material and then pour some hot water from the kettle over it to steep. Unlike textile dyeing you will need just a small amount to paint, so I used double shot glasses. I let everything marinate for 15 minutes or so before I started to test them out.
TIP: You can use fresh or dried plant material so start saving for winter now!
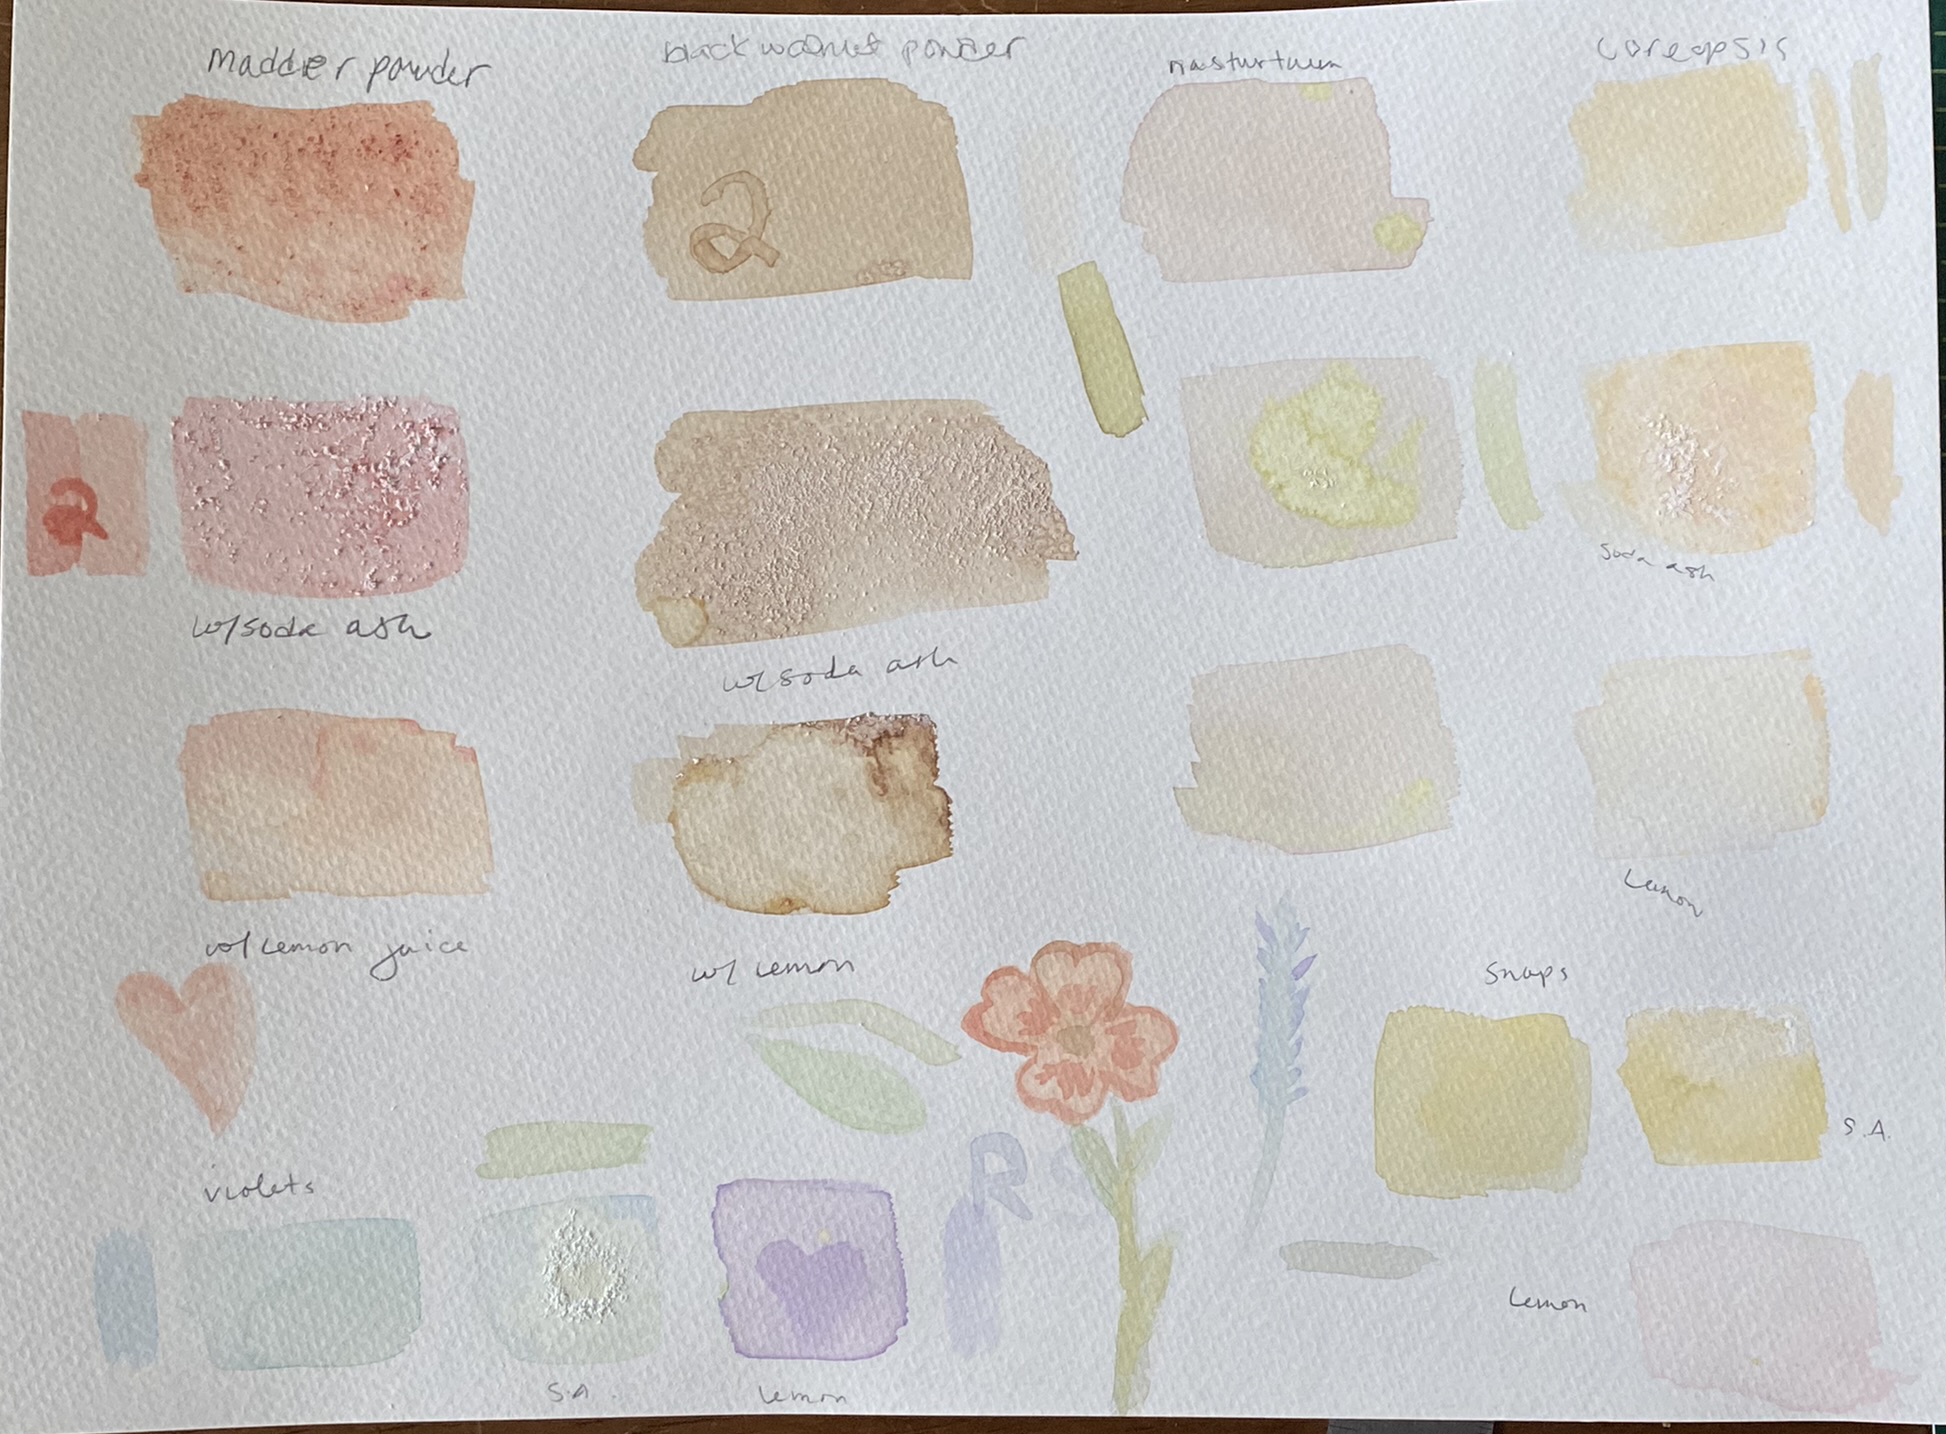
The next fun layer to this process is adding PH modifiers such as lemon juice, vinegar (acidic) wood/soda ash (alkaline) or metallics (copper, iron, alum) to see how or if it affects the color. You’ll find these modifiers used throughout all natural pigment processes and while they’re all natural, be sure to check safety precautions for everything you use. Natural is not a synonym for safe!
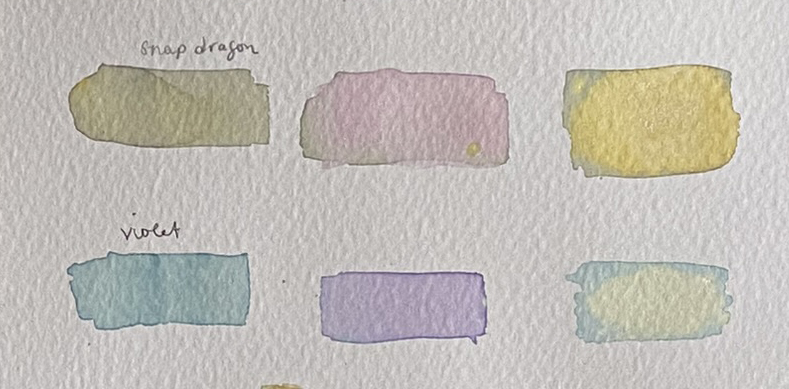
I took each color and painted three swatches, one for the paint as is, one for acid, and one for alkaline. You’ll notice quickly that the color of the paint wont necessarily match the color of the flower. Black pansies really show off how the dry down and use of modifiers can affect your final color result. You may even notice some colors continue to change after a day or so.
Without modification, the pansy produces a deep purple liquid that dries to a blue-green hue, but with lemon juice you’ll get a magenta paint that dries to a purple. Sprinkling some soda ash on the third swatch had a bleaching effect. You can see similar changes with the red snapdragon paint. For these reasons you’ll want to let your swatches dry before tackling a painting unless you’re ok with surprises!
I watched a couple of YouTube tutorials about watercolor basics and lost myself for a couple of hours just doodling and swatching. If you decide to try it, feel free to DM me on Instagram @its_pam_ela and show me how you made out!
If you’re wondering about storing leftover paint, I’ve had mixed results. Some of the lighter pigments didn’t keep in the refrigerator, but the more saturated paint such as that of the black pansy were still useable after 3 days.
Other tips:
-Tape down your paper with washi or masking tape so it doesn’t curl.
-Do a quick search on YouTube about wet-on-wet versus wet-on-dry, it makes watercolor make a lot more sense!
-Go for a watercolor specific, pointed quill brush over flat brushes. They hold water and make beautiful strokes.
-Don’t stop at flowers! Leaves, berries*, oak hulls, spices like tumeric and saffron all produce pigment you can paint with!
*careful with the poison sort!
Happy painting!